Your vehicle
No vehicle selected
Identify yours to refine your search results
No vehicle selected
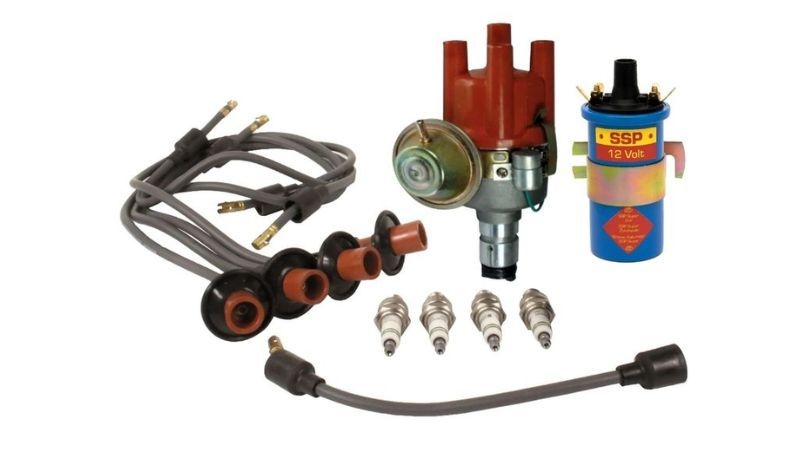
Learn how to set the ignition timing on a Volkswagen Type 1 engine with a test lamp or a timing light: pulley marks, 7.5° advance and essential check points.
23/03/2026
Harald
5 minutes read
There are two methods for setting the ignition timing on the type 1 engine: with a test lamp, or with a timing light, the second refining the setting made with the first. But for those who don't have this equipment, a careful setting with a test lamp will be enough.
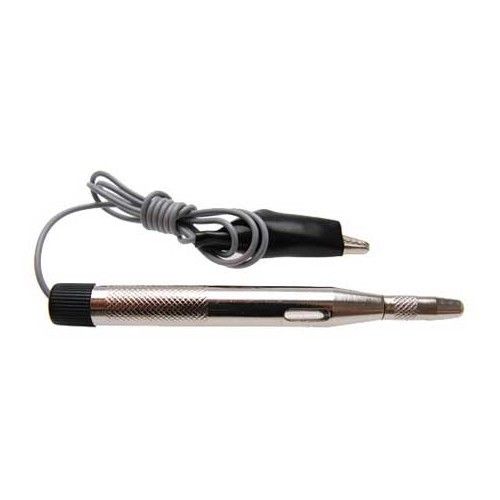
The ideal is to have a screwdriver with a lamp inside. It is not a very expensive tool and is very handy since it comes supplied with its clip and lead (See our test lamp). Of course, you can also make up your own lamp!
The crankshaft pulley has several marks. On its front part, you generally find a boss, and opposite it a notch on the rear part.
The boss corresponds to top dead centre of the first cylinder, the notch meaning zero degrees of advance. You therefore need to align this notch with the split line separating the two crankcase halves.
Note that in most cases, this notch is the leftmost one. Once top dead centre is defined, you will notice that the rotor arm of the distributor points towards you. If it points to the rear, turn the pulley one more revolution so that the rotor arm makes the half-turn it is missing.
When it points towards you, turn the distributor body until the mark on the case is aligned with the rotor arm. This position is the firing moment of cylinder number 1. You can therefore check that your leads are fitted in the right firing order 1-4-3-2. (Clockwise). Once these preliminaries are done, all that remains is to set the advance. On your pulley, there is another notch eight millimetres to the right of the first.
It gives an advance of 7.5, which is the normal setting for engines fitted with original vacuum-advance distributors and for a 009 distributor. In the case of an original distributor: not all distributors are set the same way. The initial value (e.g. 7.5° advance) depends on the engine type and the distributor type.
Let's move on to the setting itself. Switch the ignition on (without starting the engine). Earth your magic screwdriver and clip it to the points side of the coil. This is the wire that comes from the distributor, in case it is illegible on the coil.
Turn the pulley until the second notch is aligned with the split line of the crankcase. Loosen the distributor (10mm spanner) and turn it clockwise: the lamp goes out. In the other direction, it comes back on. The right position is just where the lamp comes back on. Repeat the manoeuvre several times before tightening the distributor then check by turning the pulley, because sometimes, when tightening the clamp bolt, the distributor is slightly knocked out of position.
In principle, you can drive like that. As a safety measure, it is better to check with a timing light.
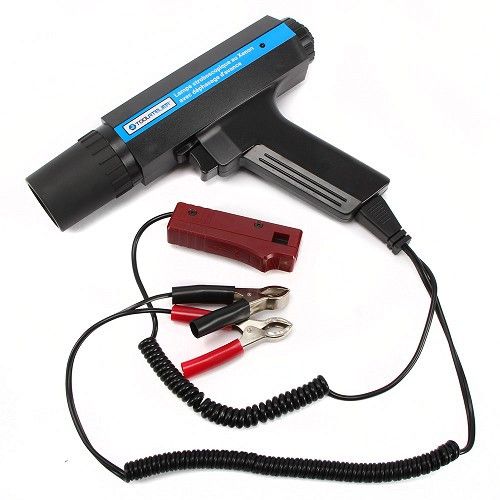
To set the ignition timing with a timing light, you have to start the engine. Before starting it, place the clamp on the lead of cylinder number 1. Pay attention to the direction of the arrow on this clamp, it indicates the direction of the current. Put the positive lead on the positive terminal of the coil and the earth lead on earth.
The principle is the same as with the screwdriver, except that as you move the distributor, you see, by stroboscopic effect, the notch on the pulley moving one way or the other. Tighten the distributor when the notch is properly aligned with the split line.
On some timing lights, you can even check top dead centre using the first notch.
Note: on an original distributor, the setting with the lamp is done with the vacuum capsule disconnected.
Worth reading: The 12V phase-shift timing light
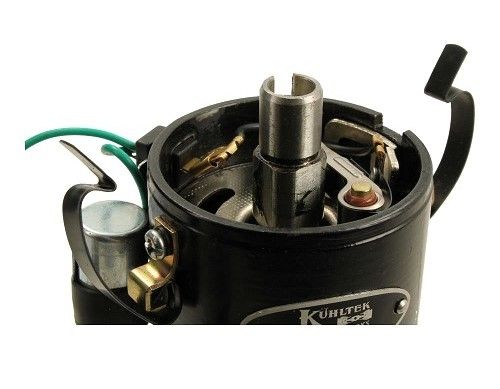
First set the gap of the points to 0.40 mm; if your points are pitted, change them without forgetting the condenser. Check the correct position of the head of the distributor drive shaft, offset slot at TDC cylinder No. 1.
Play in the distributor shaft must not exceed 2° of variation in the angle reading under acceleration. Beyond that: change your distributor.
Poor initial timing and/or a "worn" distributor will lead to overheating, which can go as far as melting a piston or a cylinder head! (A typical case of voiding the warranty on exchange engines)
Pinking: too much advance, fuel too old (knock resistance too low), or abnormal engine overheating: reduce the advance.
Car abnormally "flat" and sluggish: not enough advance or, worse, retard: overheating.
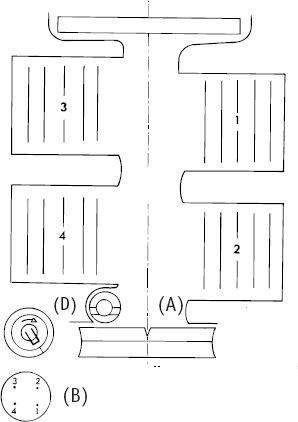
(A) Split line of the crankcase halves
(B) Mark on the rim of the distributor
(C) Position of the leads on the distributor cap
(D) Position of the head of the distributor drive shaft, offset slot (distributor removed)

Harald
Le partage de la Passion, simplement.
Subscribe to our MECATECHNIC newsletter