Your vehicle
No vehicle selected
Identify yours to refine your search results
No vehicle selected
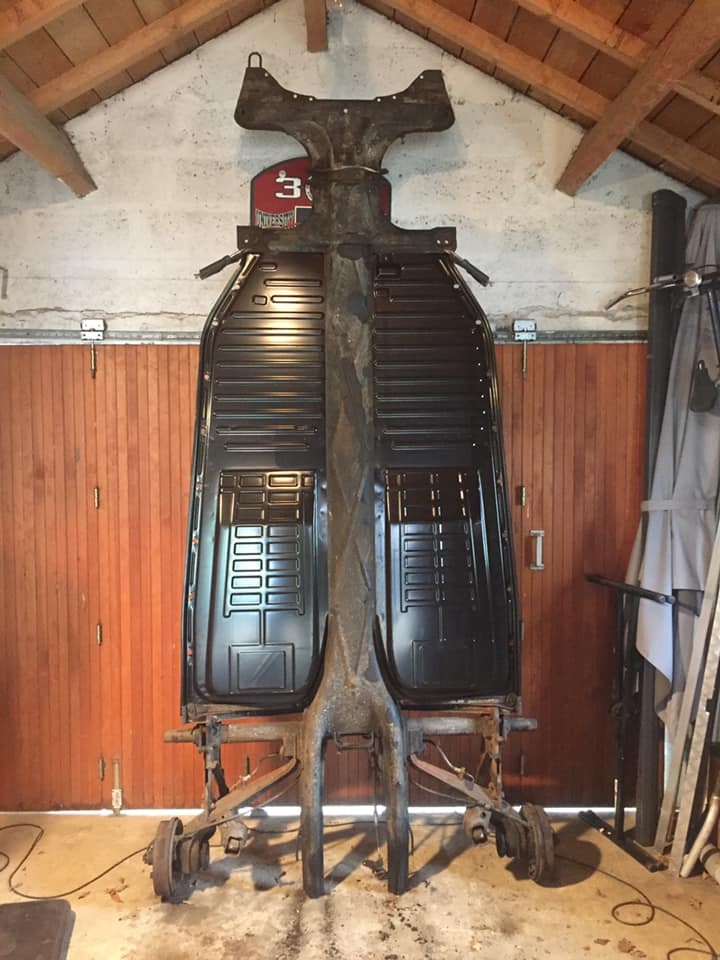
A Beetle that looks clean on the outside can hide a rotted shell. Areas to inspect, order of work and sheet-metal parts specific to the 1302, with the restoration of a 1970 1302 completed in one year.
22/10/2026
Harald
8 minutes read
It shines, the chrome is lovely, the engine runs smoothly… and yet. On a Beetle, the corrosion that matters is the kind you can't see: under the carpets, in the heater channels, behind the valances. The 1302 is no exception, and it adds its own traps, linked to its strut-type front suspension. Here is where to look, in what order to work and which panels to choose, with the restoration of a 1970 1302 completed in one year as our common thread.
Introduced in August 1970 and replaced by the 1303 in August 1972, the 1302 had only a short career, but it profoundly changed the Beetle. At the front, the torsion bar suspension gave way to MacPherson struts; the nose got longer and the front boot gained a lot of room, with a spare wheel lying flat under the boot floor. At the rear, a diagonal-arm axle with driveshafts improved the road holding. The 1302 kept the flat windscreen (the curved one was reserved for the 1303) and received a 44 hp 1300, or a 50 hp 1600 on the 1302 S.
For bodywork, these changes matter: the frame head, the front panel, the front valance, the strut towers and some heater ducts are specific to the 1302 and 1303. Before ordering, date your car by its chassis number (see our guide to identifying your VW Beetle): a 1302 was built between August 1970 and July 1972.
A Beetle is made of two assemblies bolted together: the platform (central tunnel, floor pan halves, frame head) and the body. Both rust, often in the same places:
An inspection on a ramp gives a first idea, nothing more. A screwdriver pushed into a floor, a magnet run along the sills to detect filler, an eye on the welds of earlier repairs: all of this gives direction, but the real condition only appears once the wings, seats, carpets and trim have been removed. On the 1970 1302 used as the example here, the body looked clean; only the floors and the rear panel were a worry. On strip-down, its owner discovered that the whole body was eaten away by perforating corrosion. So budget the money and time for a complete restoration as soon as you buy a "clean" shell.
The Beetle changed in detail almost every year, and the bodywork parts follow: a part "for Beetle" does not necessarily fit a 1302. Our catalogue distinguishes, for example, floor pan halves for the period August 1970 to July 1972, heater ducts specific to the 1302 and 1303, a complete 1302/1303 frame head and a specific curved front valance. Always check the period given in the part title against your car's date of manufacture.
The frame head deserves a special mention: it carries the front axle, and replacing it completely is done on a surface plate or a jig, taking the dimensions of the old one before cutting it out. If the rust is localised, the "Napoleon's hat" panel alone may be enough. Finally, weigh up quality: a well-pressed panel, with the right folds and the right holes, goes on in a few hours; an approximate part demands days of fitting and often ends up showing under the paint.
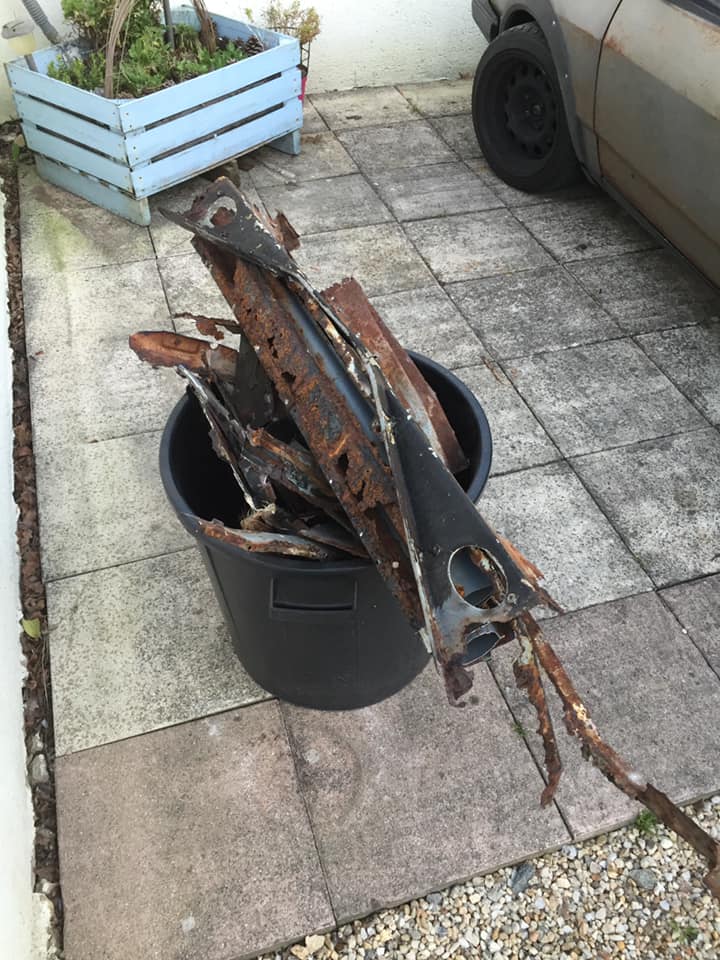
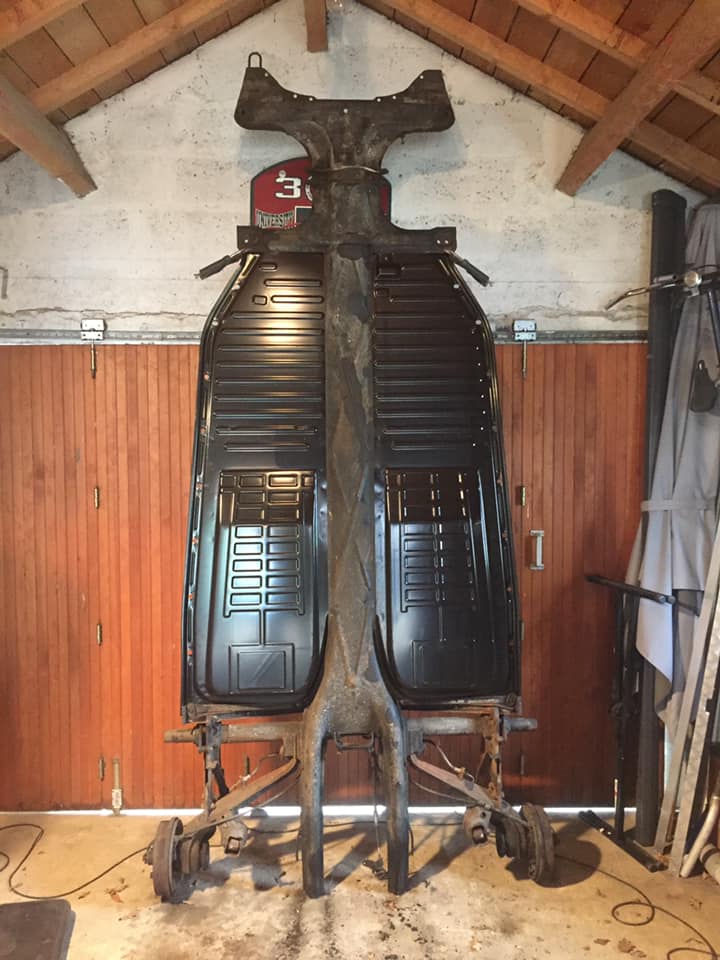
Its owner had wanted to take it on for a long time, but lacked space. His best friend gave him a Beetle restoration manual and offered to store the car in his garage: work started in January 2019. Here is the list of jobs, in the order he carried them out:
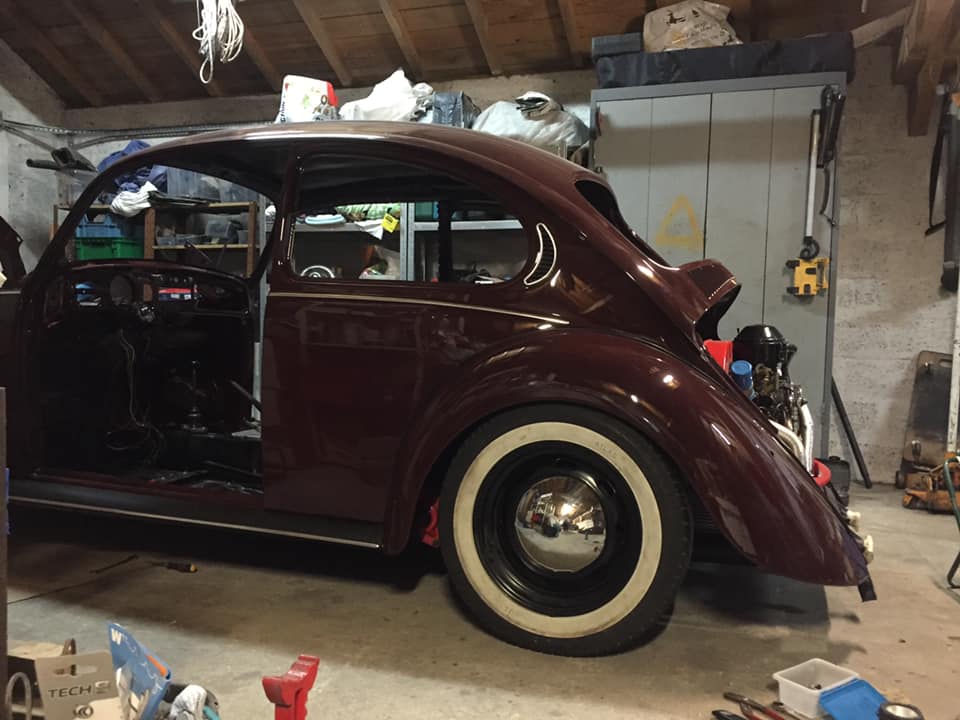
The result: one year and more than 1,000 hours of work, between two people. Only the engine ran perfectly at the start; at the finish, the 1302 had regained its proud looks.
During the restoration, the welded rear valance was replaced with a removable, bolted-on one. The benefit is practical: the engine can be removed and adjusted much more easily, and the valance can be changed without welding if it gets damaged. The downside: it is a bodywork modification. The bumper, lighting and number plate bracket must stay in place, securely fixed and compliant. If in doubt, have the modification approved before the contrôle technique (the French roadworthiness test).
The figure for this 1302 gives the order of magnitude: more than 1,000 hours for a fully reworked shell. The budget depends mostly on three items: the quality of the panels (a part that fits badly is paid for in hours), the stripping and paint, often entrusted to a professional, and what you discover on strip-down. Allow generously.
On the tooling side, a bodyshell restoration requires at the very least a MIG welder, a grinder with cutting and sanding discs, a spot-weld drill bit to undo the spot welds, locking pliers and clamps, solid axle stands and, ideally, a trolley to move the shell around. To equip your workshop, see our article on ToolAtelier, tools designed for your workshop.
A sound shell is the basis of everything else. Find all our Beetle bodywork parts, the Beetle engines page and, to place the 1302 in the saga, our history of the Beetle.

Harald
Le partage de la Passion, simplement.
Subscribe to our MECATECHNIC newsletter