

























Your vehicle
No vehicle selected
Identify yours to refine your search results
No vehicle selected

Read more
5 Results
sort by
In stock
In stock
In stock
In stock
In stock
The term ‘door panel’ here refers to the interior trim: the covered panel that clips onto the door panel and which, depending on the design, houses the handle, the storage compartment, the armrest and the window regulator surround. It is not the outer door panel, which is part of the bodywork.
Its structure is simple, which explains why it is so fragile: a rigid backing, made of compressed cardboard or plastic depending on the era, covered with a material that is stretched and stapled at the back. It is the backing that gives way, not the covering.
If you are replacing just one door, compare the colour in daylight rather than in the workshop: artificial lighting masks precisely the difference that will be visible outdoors.
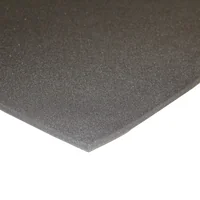
A door is not watertight, nor is it meant to be. Water running down the glass flows into the frame and drains out through the drainage holes at the bottom of the door. What prevents this water from reaching the seal is a waterproofing film glued to the sheet metal, behind the panel.
When this film is torn, poorly re-adhered after repairs, or simply missing, moisture reaches the panel’s backing. The cardboard swells, the material expands, and the panel warps within a few months. Fitting a new seal without replacing the film is simply setting the same fault to happen again. Whilst you’re at it, check that the drainage holes at the bottom of the door aren’t blocked.
A complete set ensures consistency: the same dye bath, the same grain, and the same future ageing. This is the default choice whenever at least two panels need replacing, and the only sensible option for a vehicle whose interior is being fully refurbished.
A single panel is justified for localised damage, typically a worn driver’s door whilst the rest is in good condition, or on a vehicle whose interior has already been partially refurbished. In this case, check the side: panels are sold per side and are not symmetrical, due to the position of the handle and the storage compartment.
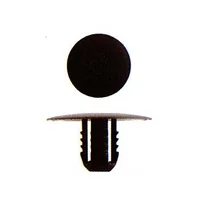
The panels are held in place by clips which almost invariably break during removal, especially on older bodywork. Make sure you have a new set to hand before you start, rather than discovering the problem once you’ve removed the trim.
Use a flat, wide removal tool, which distributes the force, rather than a screwdriver, which marks the sheet metal and splits the mounting surface. Pull perpendicular to the panel, clip by clip, starting from a lower corner. When refitting, align all the staples with their slots before pressing down: a misaligned staple will pierce the backing, and the hole cannot be repaired.

Consult the details of the engine variants, chassis and versions offered for this model