


















Your vehicle
No vehicle selected
Identify yours to refine your search results
No vehicle selected

Read more
38 Results
sort by
In stock
Only 1 left in stock
Only 1 left in stock
Only 2 left in stock
Only 2 left in stock
Only 1 left in stock
On order, from 7 days
Only 2 left in stock
Only 1 left in stock
Only 2 left in stock
Only 3 left in stock
Only 2 left in stock
On order, from 7 days
On order, from 7 days
On order, from 14 days
On order, from 7 days
On order, from 7 days
On order, from 7 days
On order, from 14 days
On order, from 7 days
On order, from 7 days
On order, from 7 days
In stock
In stock
Only 5 left in stock
Mixing two finishes on the same vehicle is immediately noticeable, and this is the most common mistake when replacing a single trim strip.
Most of these parts are asymmetrical and are sold per side: make a note of this before ordering, as the side is always counted from the driver’s side.
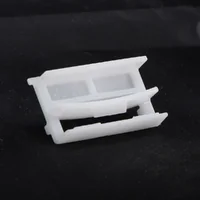
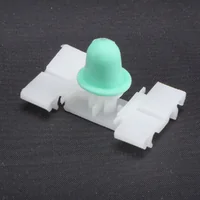
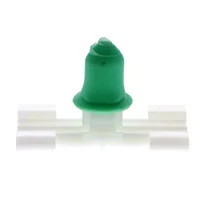
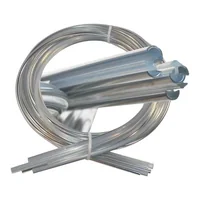
A trim strip is almost never screwed on: it clips onto clips or crimped tabs, sometimes onto glued studs. These clips are made of plastic or spring steel; they are thirty or forty years old, and in almost all cases they break when removed.
Fitting a new trim strip onto worn clips results in a part that vibrates, whistles at a steady speed and eventually comes loose on the motorway. Make sure to fit new clips with the trim strip, and check the condition of the holes in the bodywork where they are fitted: enlarged by repeated removal, they no longer hold anything in place, and you will then need either an oversized clip or bodywork repairs. Finally, make the most of the removal process to treat the panel underneath: this is an area that’s constantly damp, and corrosion always starts from the inside.
It is when you remove a trim strip that you damage the paintwork, not when you fit it. Use a flat, wide plastic tool, which distributes the force, and never a screwdriver, which concentrates all the pressure on a single point.
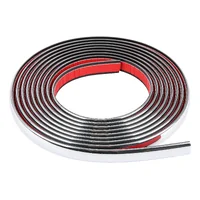
Pull perpendicular to the bodywork, clip by clip, starting from one end, and apply gentle heat if the trim is stuck. For double-sided adhesive fittings, let a suitable solvent take effect rather than forcing it off: the adhesive strips away the paintwork before coming away. Finally, clean the area thoroughly before refitting, without using silicone, and check the alignment along the entire length before pressing down the last clip.

Consult the details of the engine variants, chassis and versions offered for this model